How to Retip Nano Extensions
Posted by Hair Flair on 13th Nov 2017
An important skill to learn as a hair extension technician, is how to re-tip nano-link hair extensions so that they can be used for multiple fittings. When hair extensions are looked after correctly by following all of the recommended advice provided by you to the client, our European hair extensions can last for months and months, sometimes even years. It is at this point that is becomes very helpful to understand how to re-tip hair extensions.
Why do we need to re-tip?
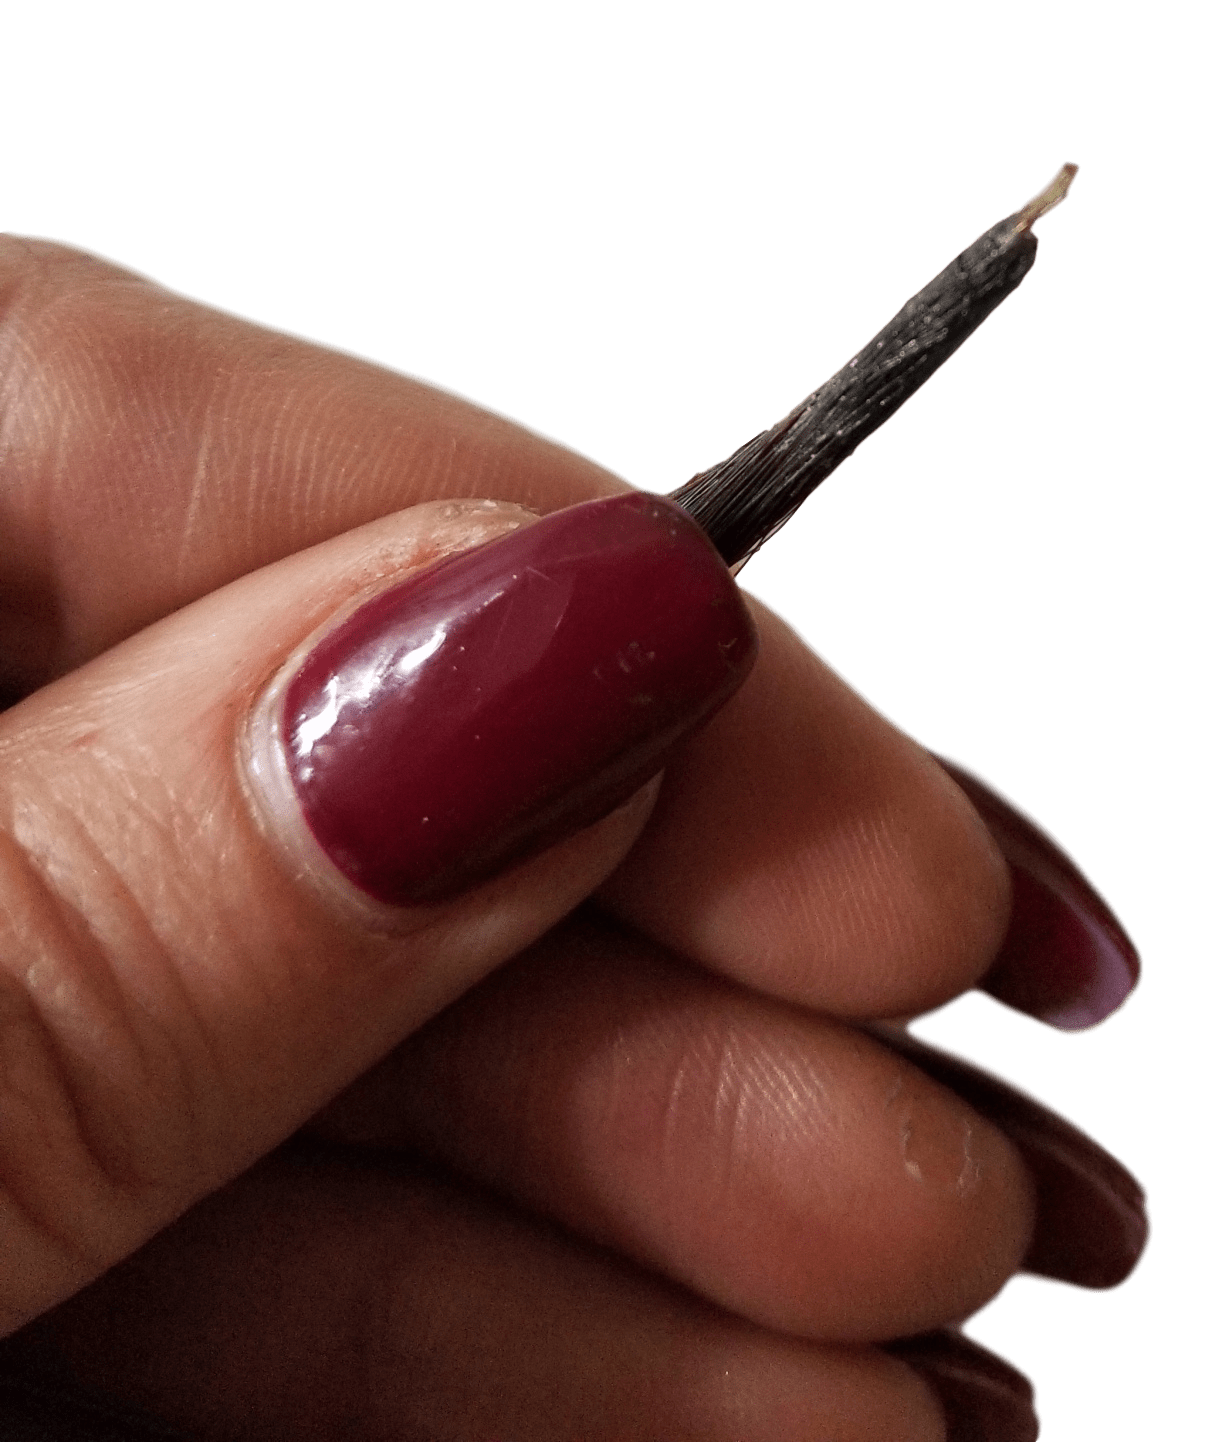
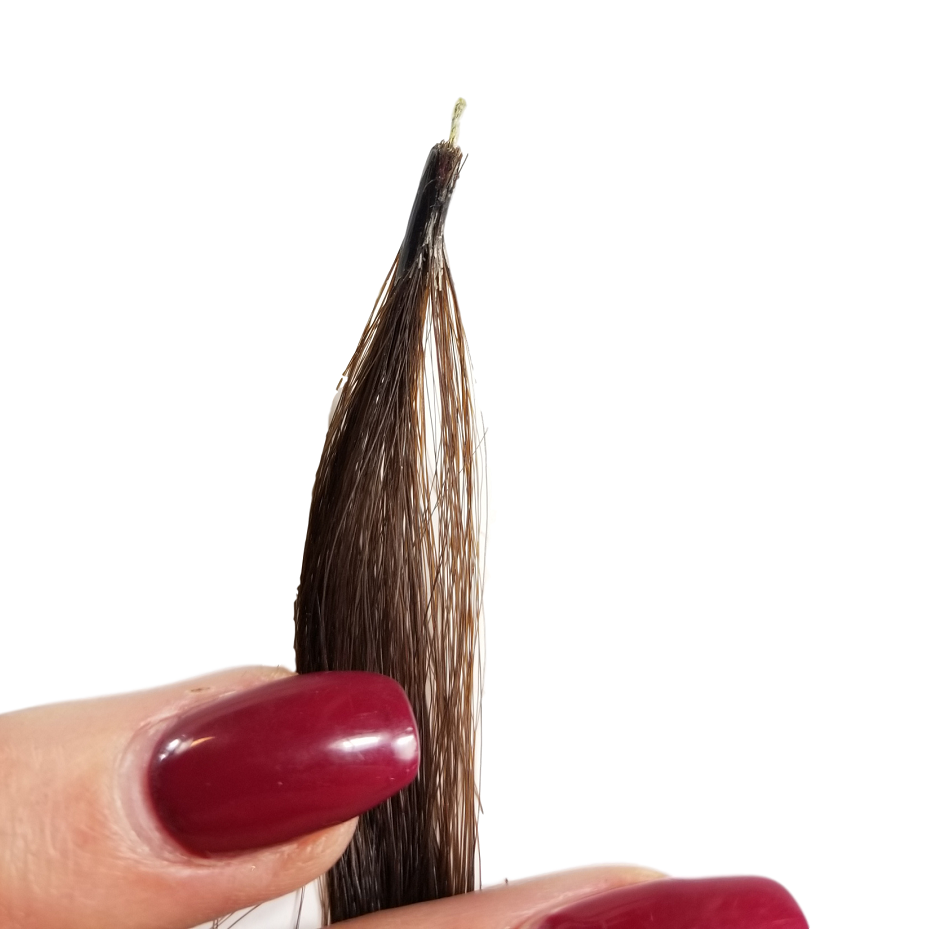
When hair extensions are worn for long periods of time, the bond will eventually begin to break down long before the hair itself needs replacing. They start to split and become soft, allowing water and product to enter as the seal has been broken.
Your client may start noticing the extensions are shedding more.This is an important clue that the extensions need retipping. It is important to retip at THE FIRST SIGNS OF BREAKDOWN. Don't wait until the bond is almost completely broken down as it may be too far gone to fix it.
The top reasons why the extension bonds will break down are:
- Excessive washing-especially using purple shampoo
- Colouring or processing the extensions
- Getting oil or products on the bonds
- Keeping the bonds wet for long periods of time
Benefits of re-tipping
As mentioned before, the main benefit of re-tipping hair extensions is that 9 times out of 10 there is nothing wrong with the hair itself; it is a cost effective way of making the most of your hair extensions. By re-tipping the hair extensions you are essentially starting fresh with a new reinforced tip that will stay in place for a number of extra months until you decide to change the hair for a brand new set.
TIP: You only need to retip the extensions that are breaking down.
To re-tip a nano-link hair extension, you will need a fusion heat gun. If you took the master course you would have one included in your kit, if not you can buy one here.
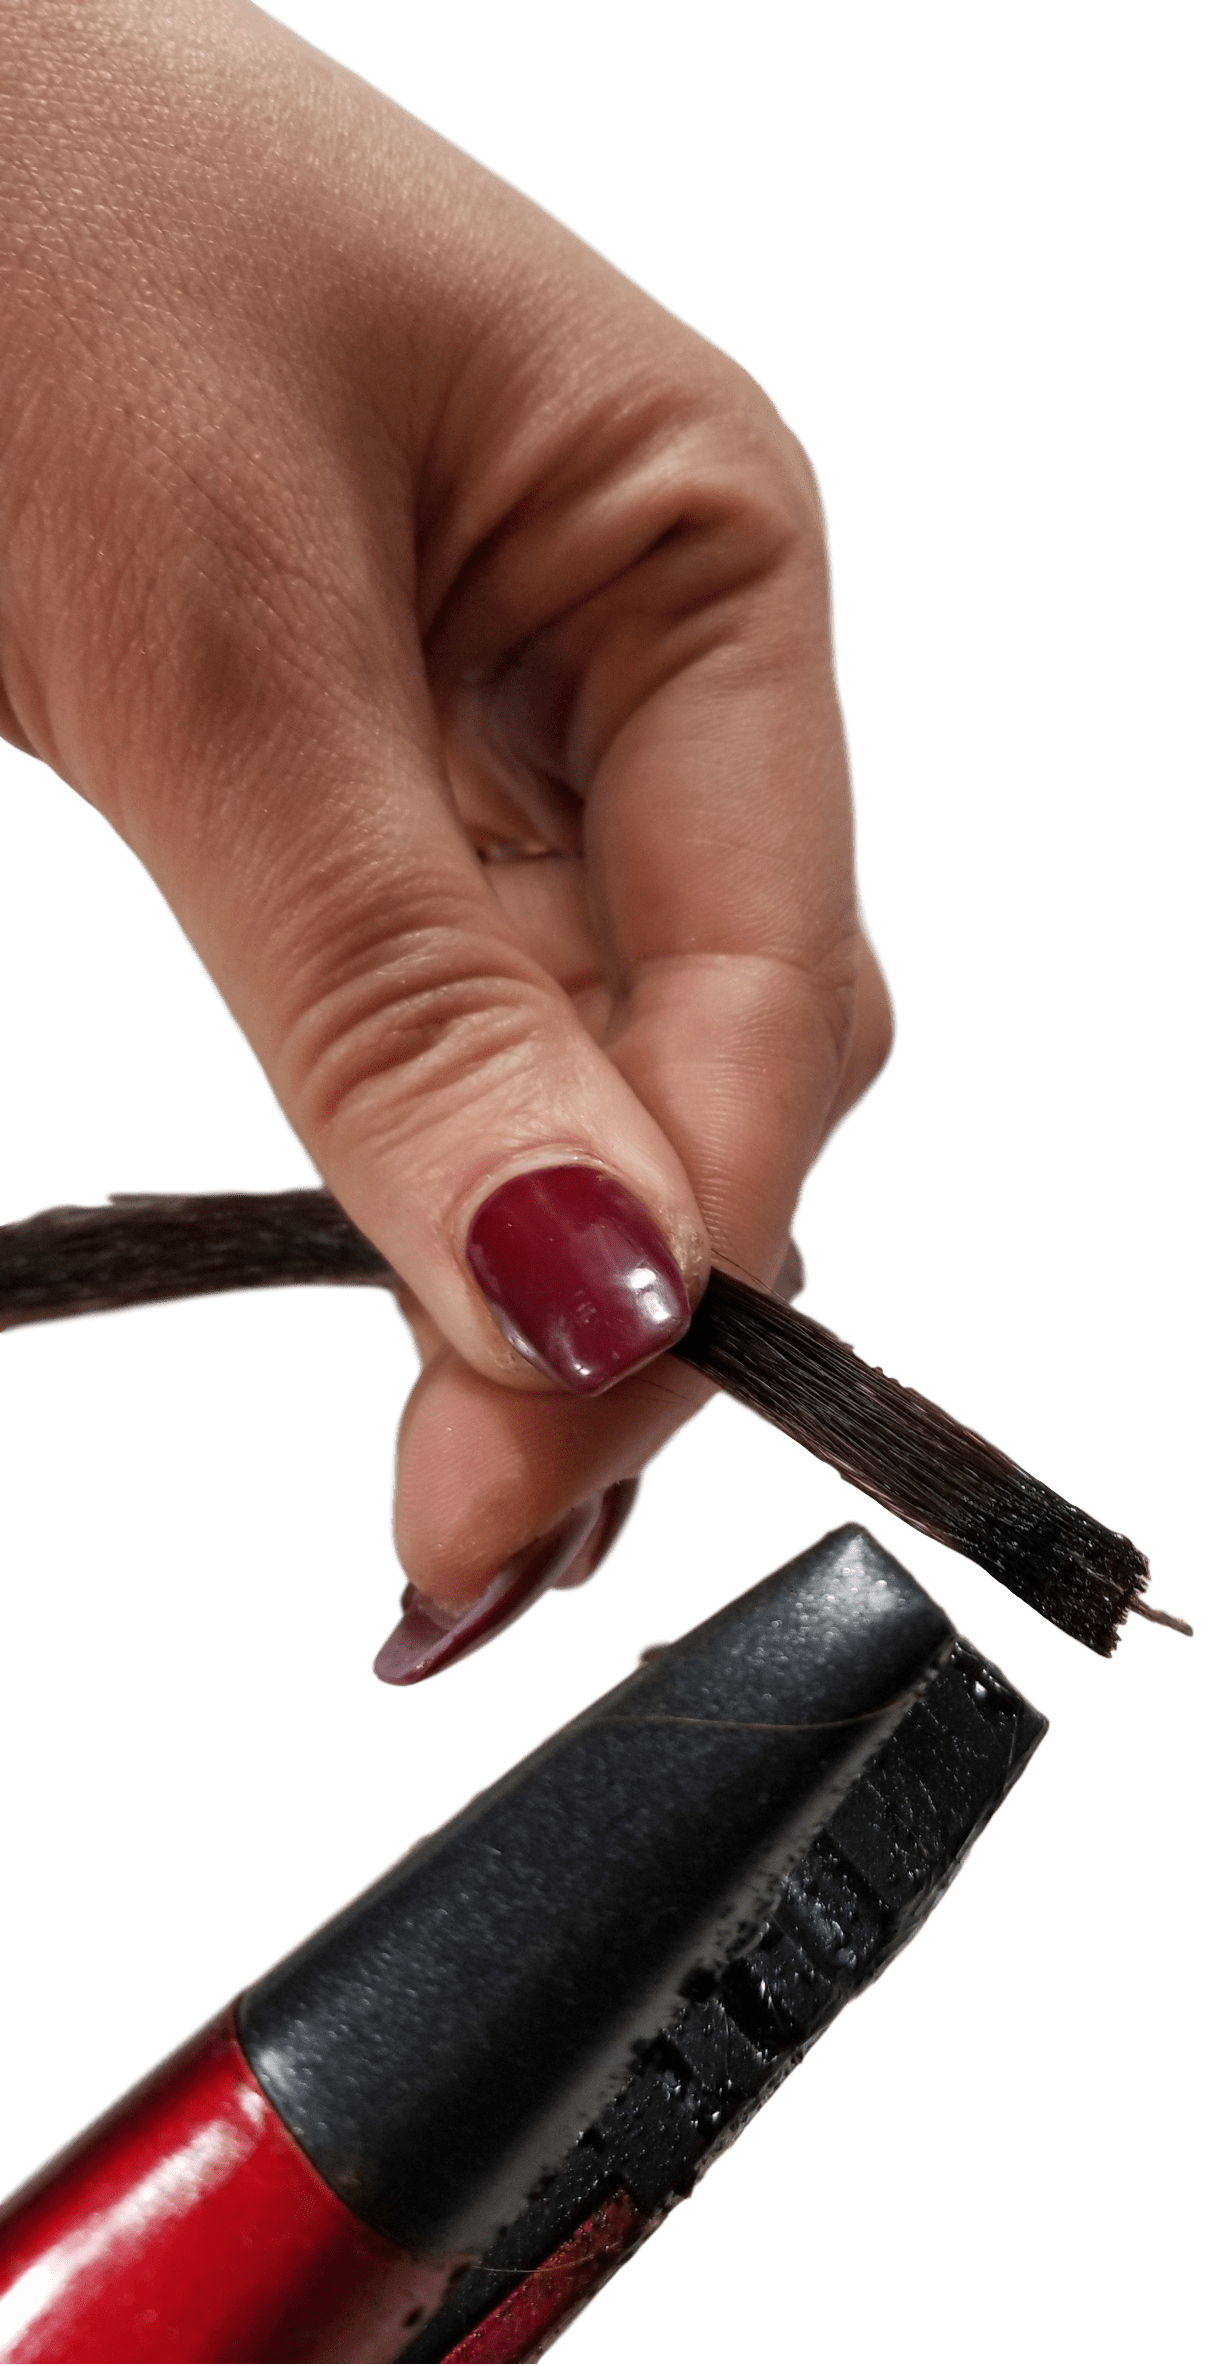
Step 1: Use the heat gun to melt down the bond and make it flat. Make sure you are melting down the entire bond and DO NOT PULL OUT THE METAL LOOP. If you do pull out metal loop you will have to put it back in the center of the flattened bond.
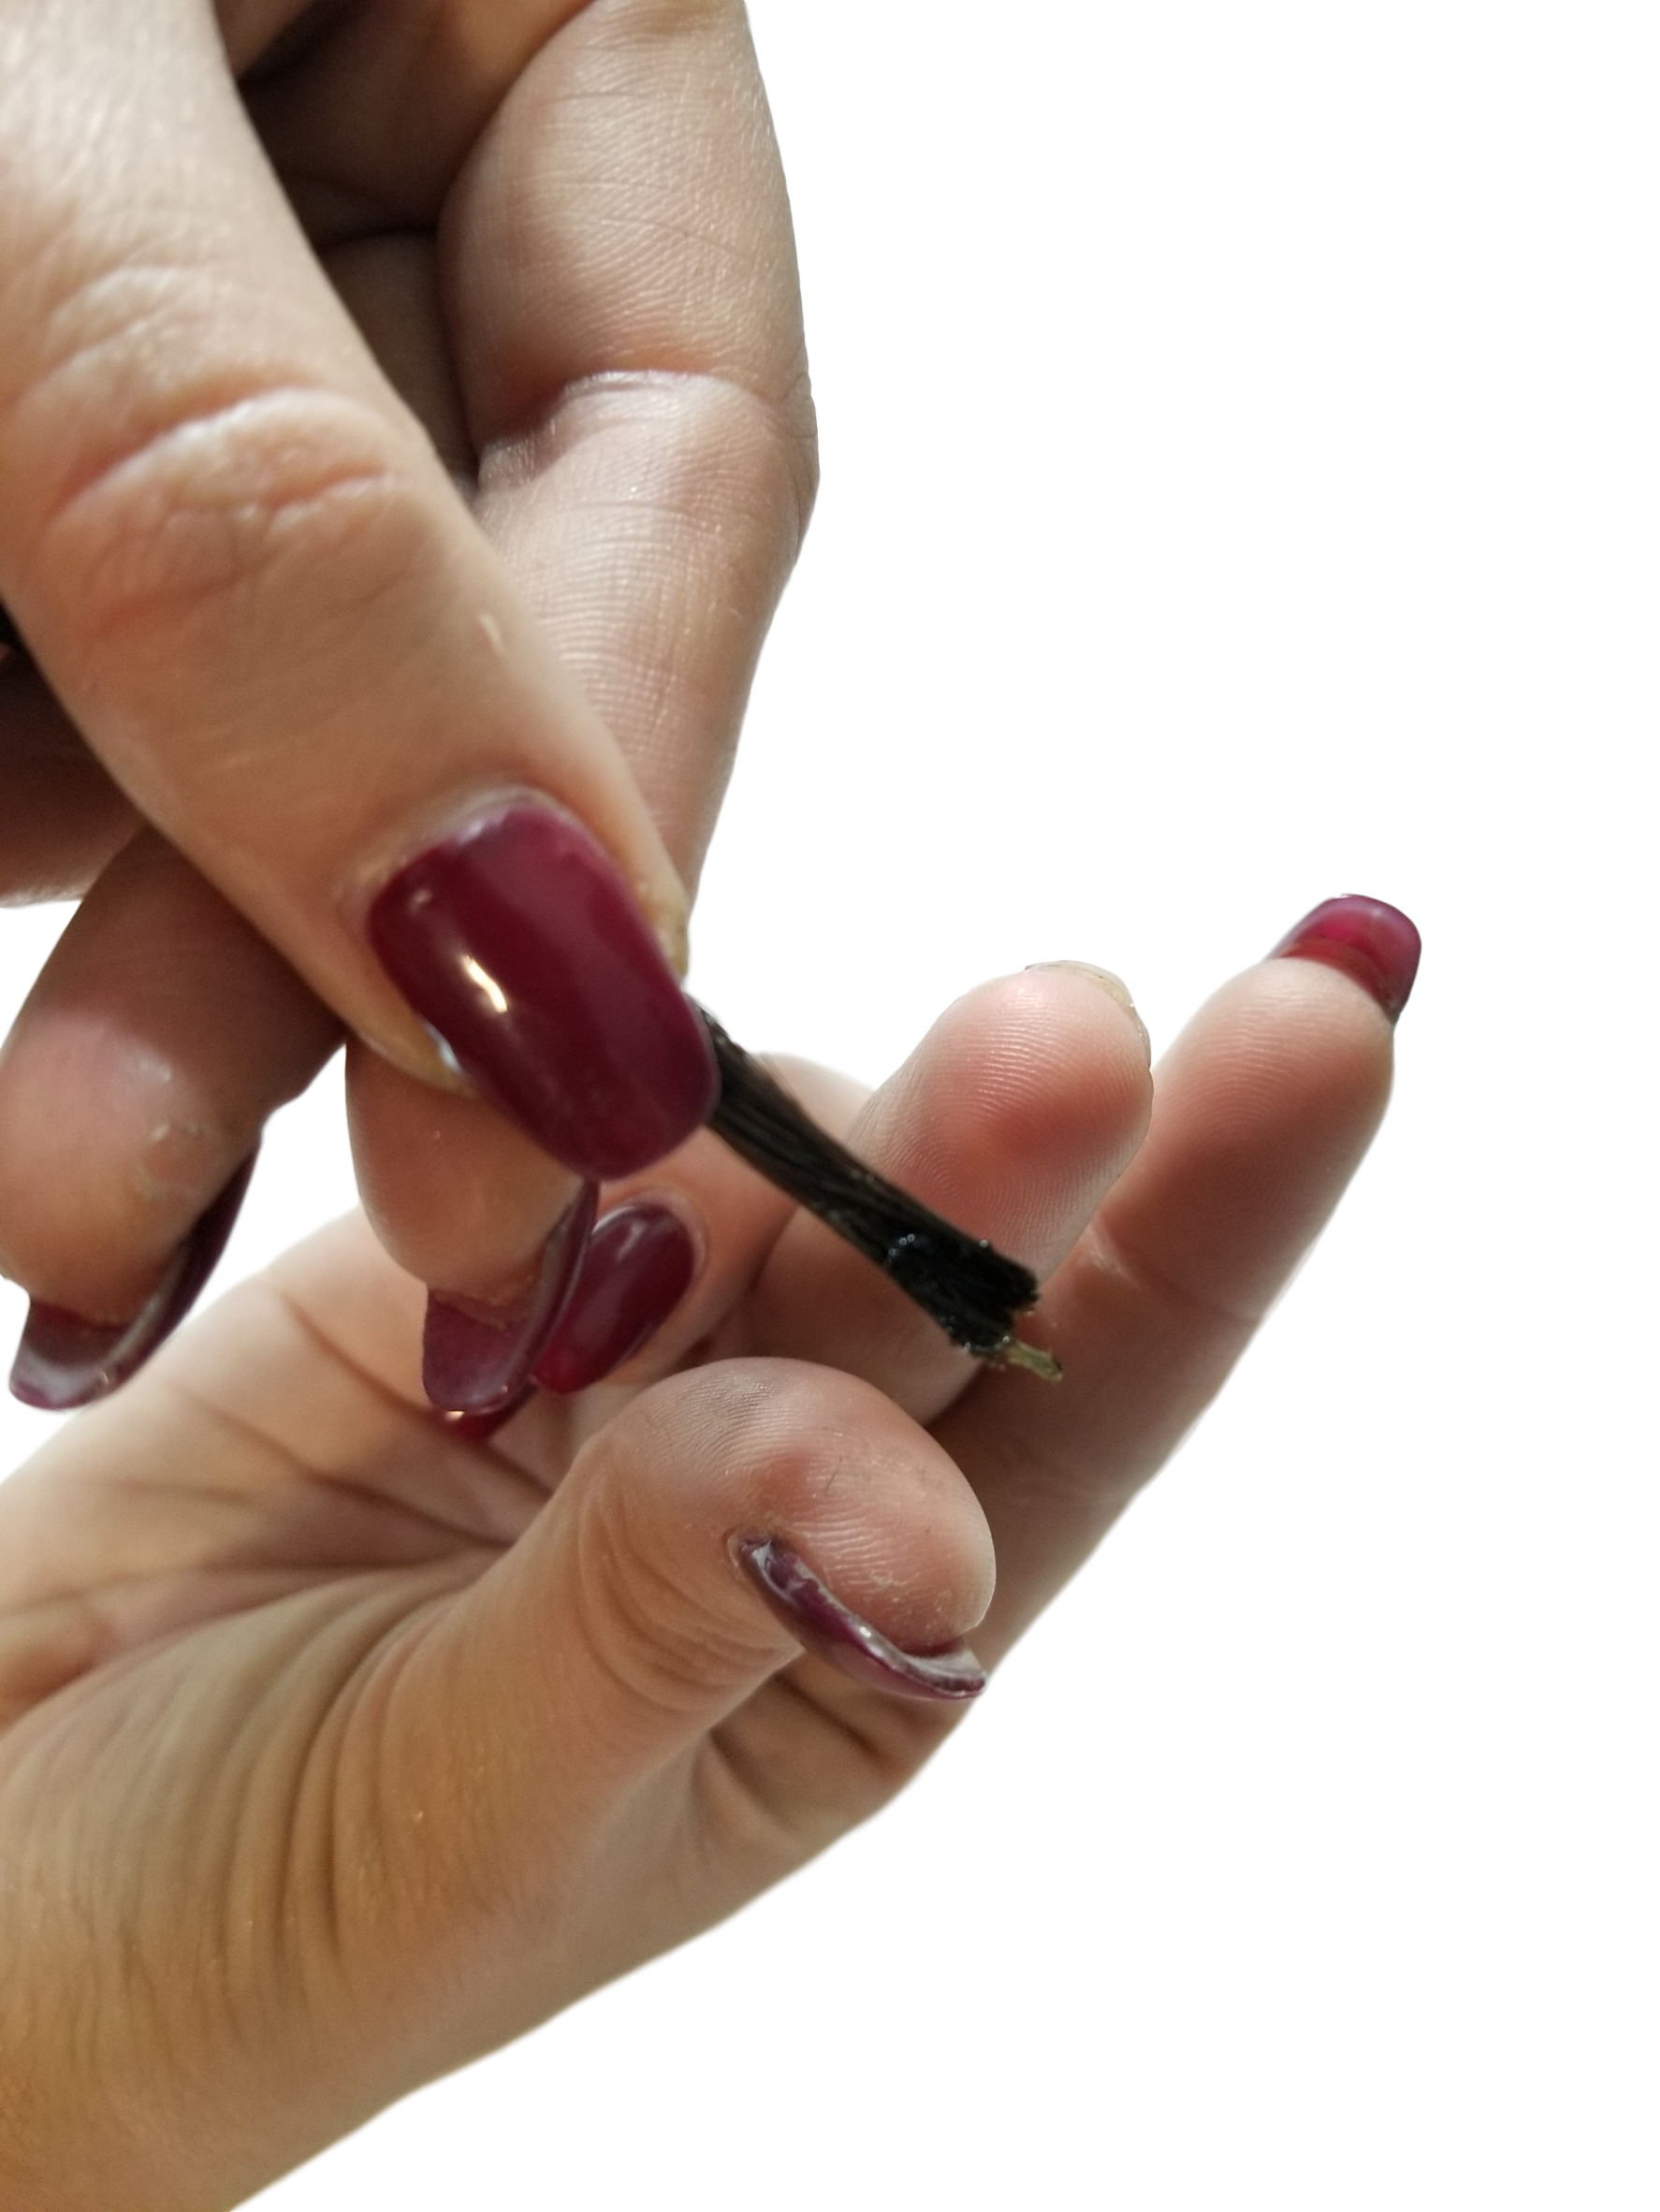
Step 2: With the bond still hot, roll the flattened bond into a tube. Use as much force as you can as the bond needs to be as tight and hard as possible. The top of the bond should be sealed, meaning that there shouldn't be a hole where the loop is coming out. Its ok to remelt the bond and try again if it is not properly rolled and sealed the first time. It's also not a bad idea to further reinforce the bond be coating it with a clear sealant and then light curing it. (a shellac clear coat will work)
And voila! The bond should be secure and ready to use again. Do you have any questions? We would love to hear them.